The bathroom basin sink is an essential sanitary ware in the bathroom. People use it to wash their hands, face and teeth. It brings a lot of convenience to people’s lives. How should a basin be installed?
Bathroom basin sink according to the material can be divided into ceramic basin, glass basin, stainless steel basin, artificial stone basin and several other.
Among them, ceramic basin is most commonly used, the price is generally.
Glass basin cleaning more difficult,stainless steel cleaning convenience.
But the applicable style single,artificial stone basin price is higher.
Second, basin installation needs to know.Basin installation is a very critical step.
As different owners choose different basin products, their installation methods also vary.
The following small talk to you about the installation of several common basins.
1, The installation method of countertop wash basin
The installation of the countertop wash basin is relatively simple.
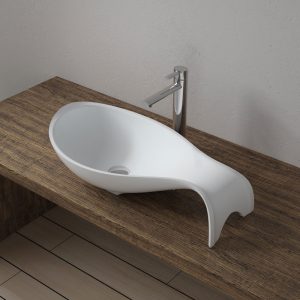
bathroom basin sink
Only according to the installation drawings in the intended location of the countertop to open the hole.
After the basin placed in the hole, with glass glue will fill the gap can be.
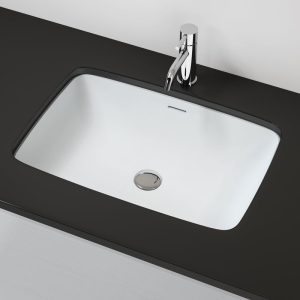
2, Undercounter basin installation method
Under-counter basin installation is more complex than the installation of the basin on the table.
First of all, you need to customize the installation bracket according to the size of the under-counter basin
Then install the under-counter basin in the intended location.
After fixing the bracket, will have opened a good hole in the countertop cover on the under-counter basin.
When installing, note that the position of the bracket should be fixed accurately.
In addition, the place where the hole is opened should be ground round.
3、Wall hung basin installation method
Wall hung basin is generally installed on the wall, very space-saving.
Here is a look at the general installation method for hanging basins.
(1) By measuring, mark out the installation height and centre line on the finished wall, the recommended installation height is 82cm.
(2) Square the basin along the centre line to the installation position, adjust it so that it is horizontally centred and anchor the location of the installation hole in the wall.
(3) Carefully open the basin, drill holes for the suspension bolts at a suitable distance from the anchor holes in the wall respectively, install the suspension bolts in the wall and keep each bolt exposed for about 45mm.
(4) Level the basin, put on the spacers and tighten the nuts until they fit, and cover with the decorative cap.
(5) Place the bracket against the wall, correct its position and then anchor the holes, mount the bracket on the wall and connect the basin to the bracket with four pieces of rubber.
(6) Install the mixer and drainage assembly and connect the inlet and drainage pipes in accordance with the instructions for the purchased water fittings.
(7) Seal the basin against the wall with anti-mould adhesive.
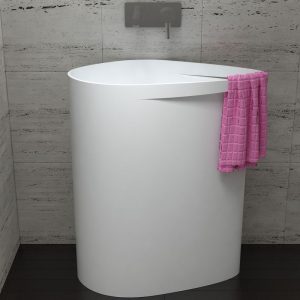
4、Free standing basin installation method
The general method of installing thefree standing basin as below.
First of all, to put the column basin on the water drain, and then put on the faucet and hose.
Then place the column basin porcelain column to the corresponding position, put the column basin up carefully, pay attention to the downpipe just inserted into the original ground left out at the downpipe.
Then connect the upper hose to the upper water outlet.
Finally, apply glass glue along the edge of the basin.

